How to fill cracks and drainage holes in resin 3D prints
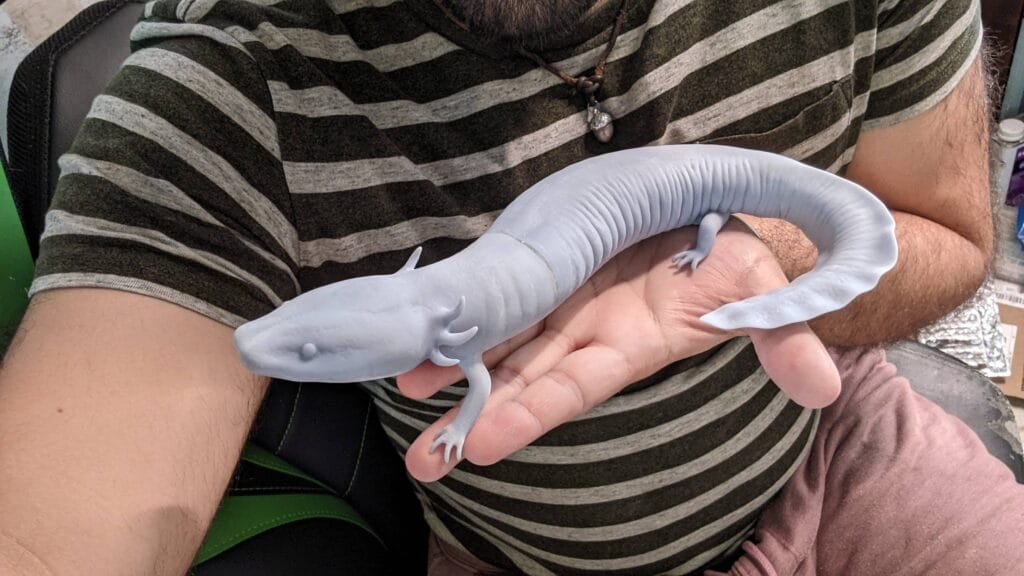
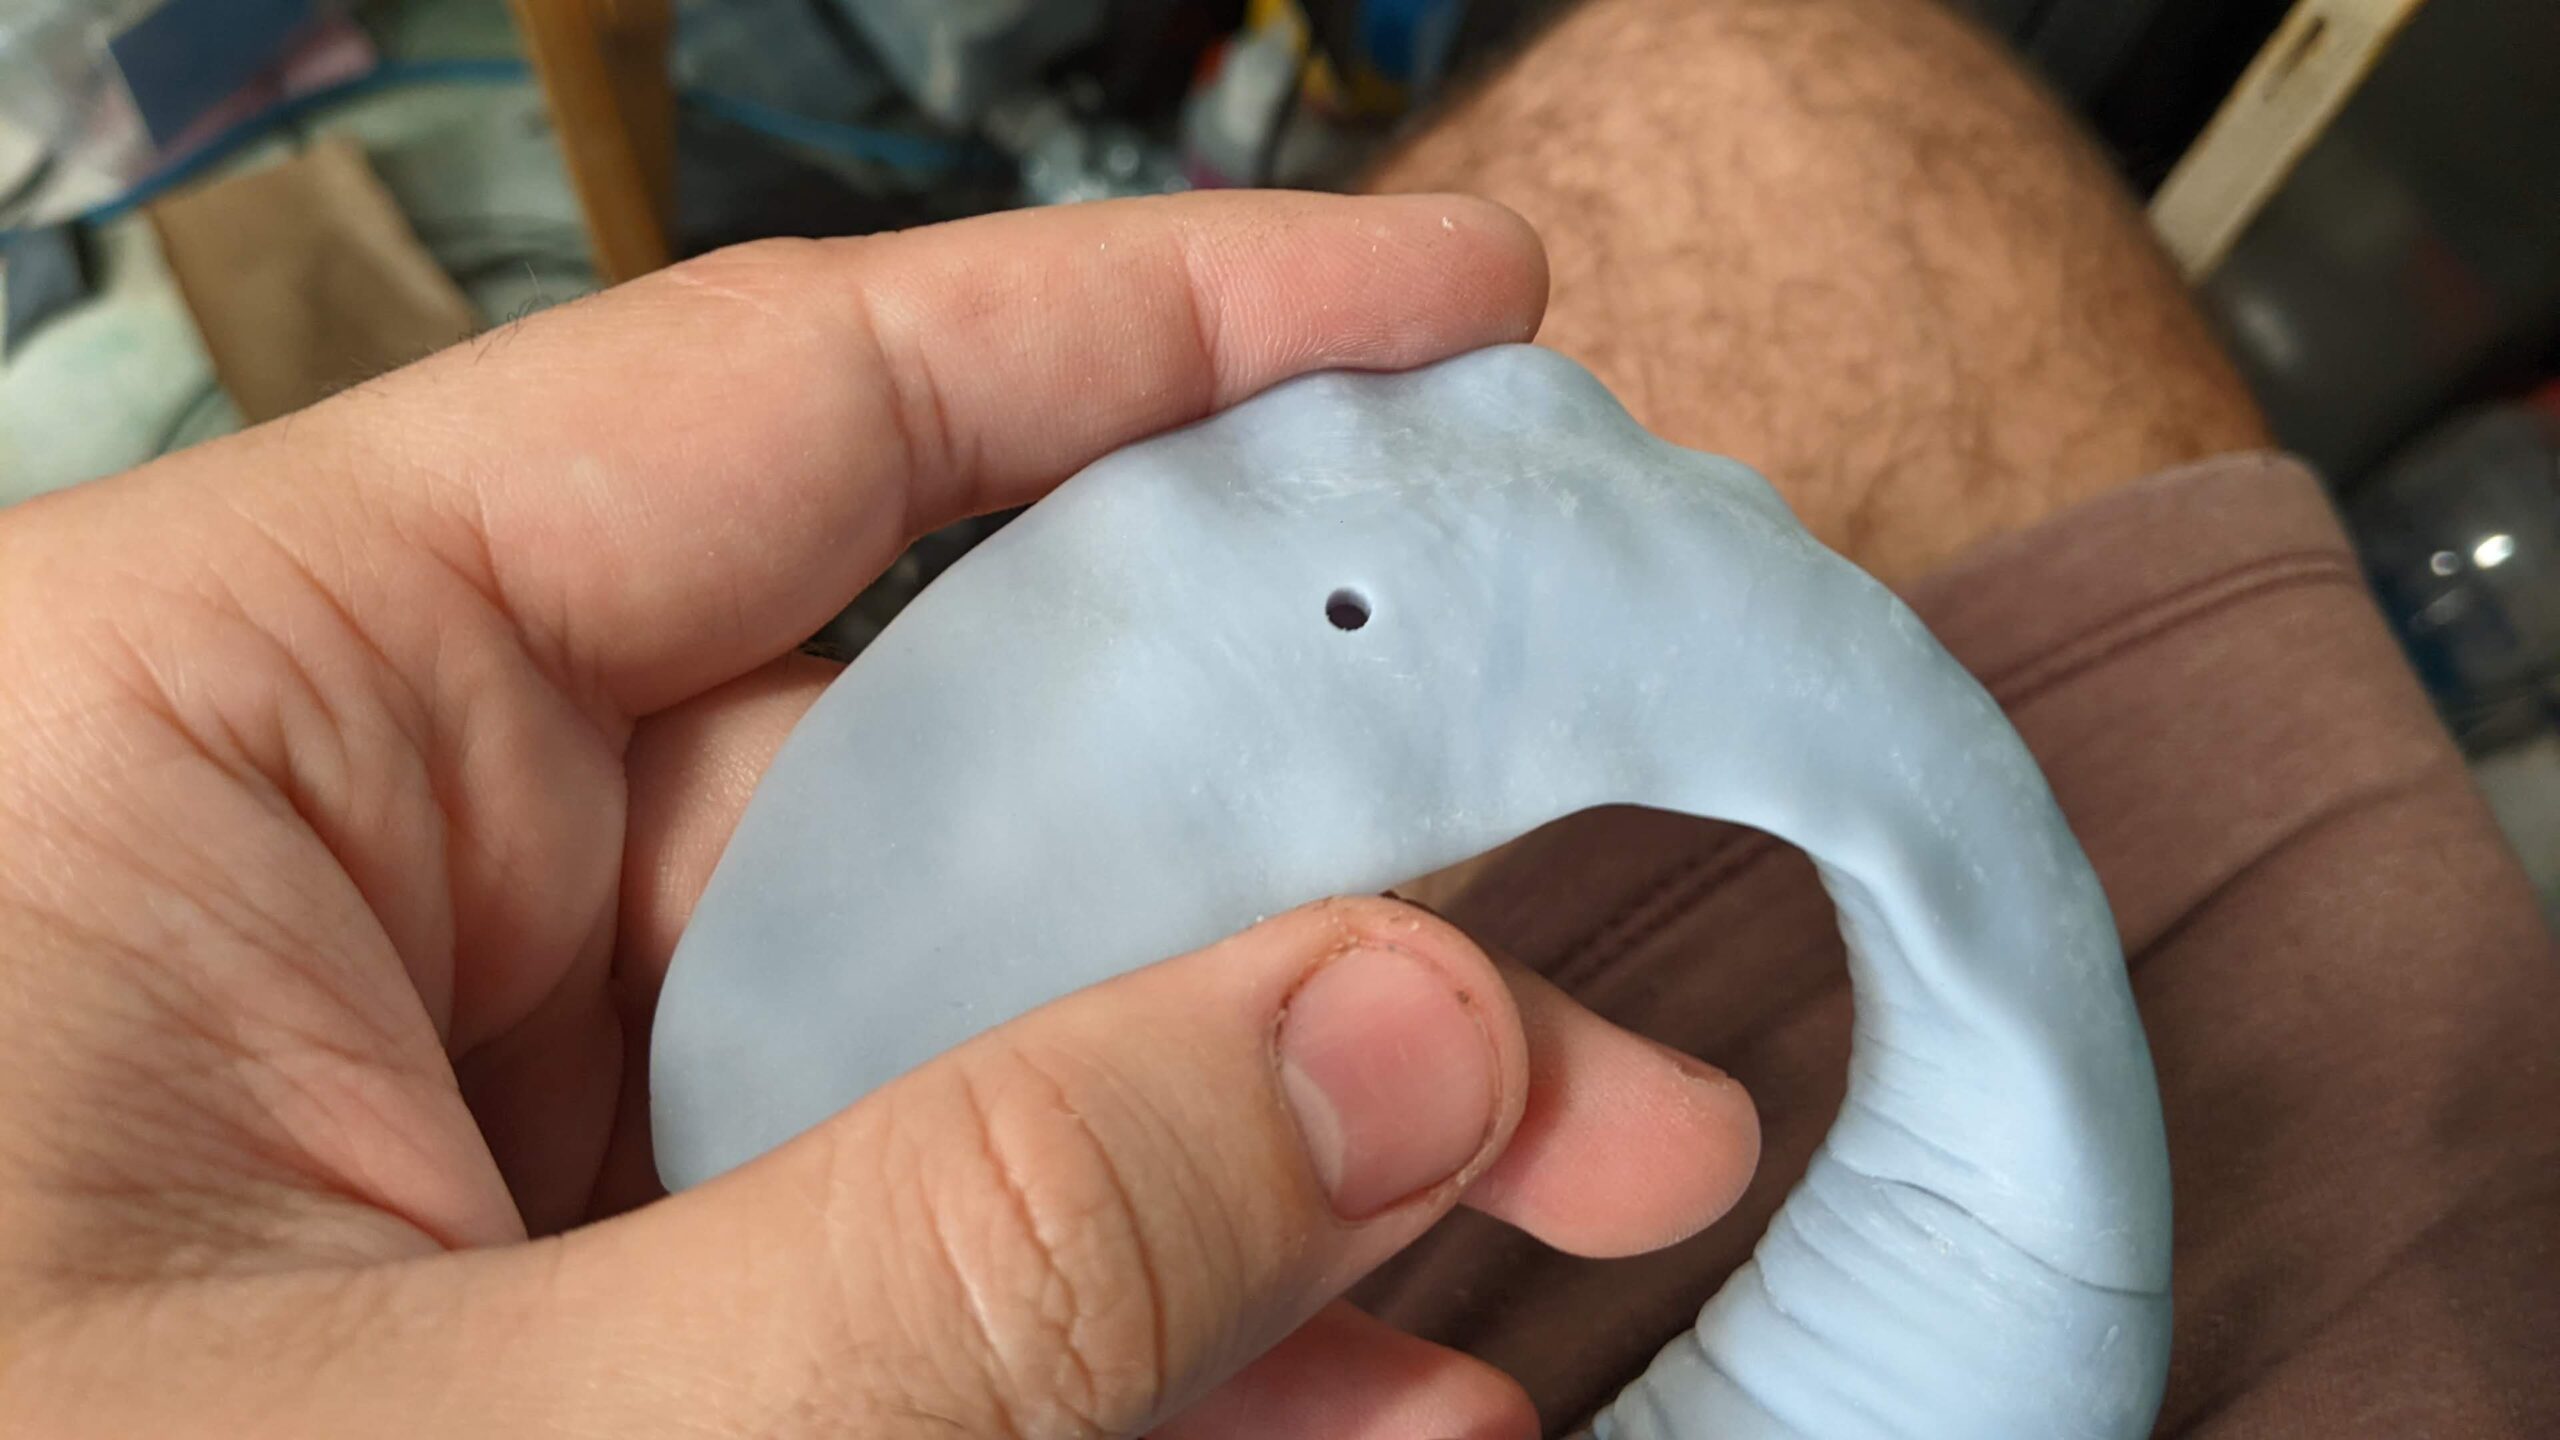
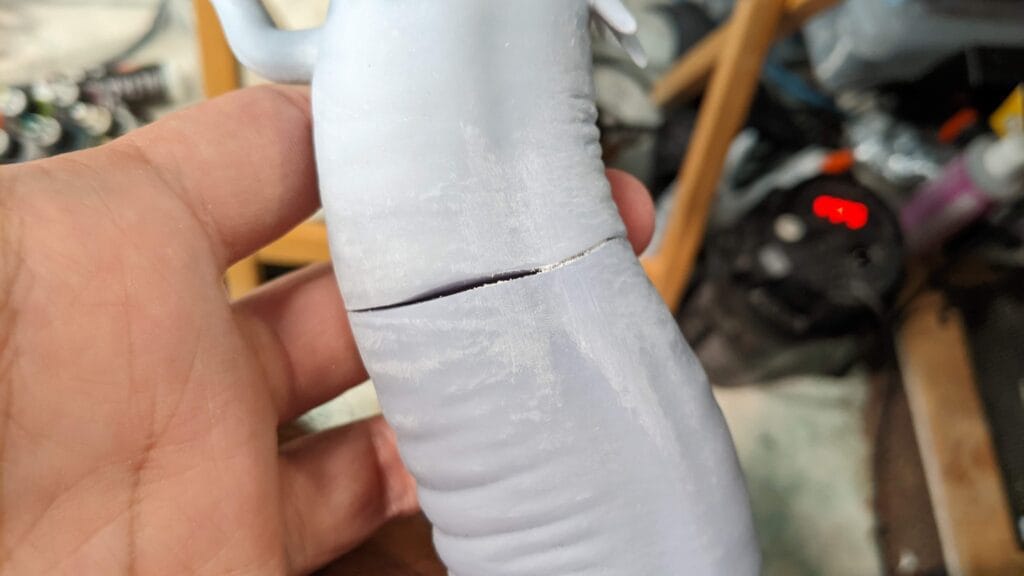
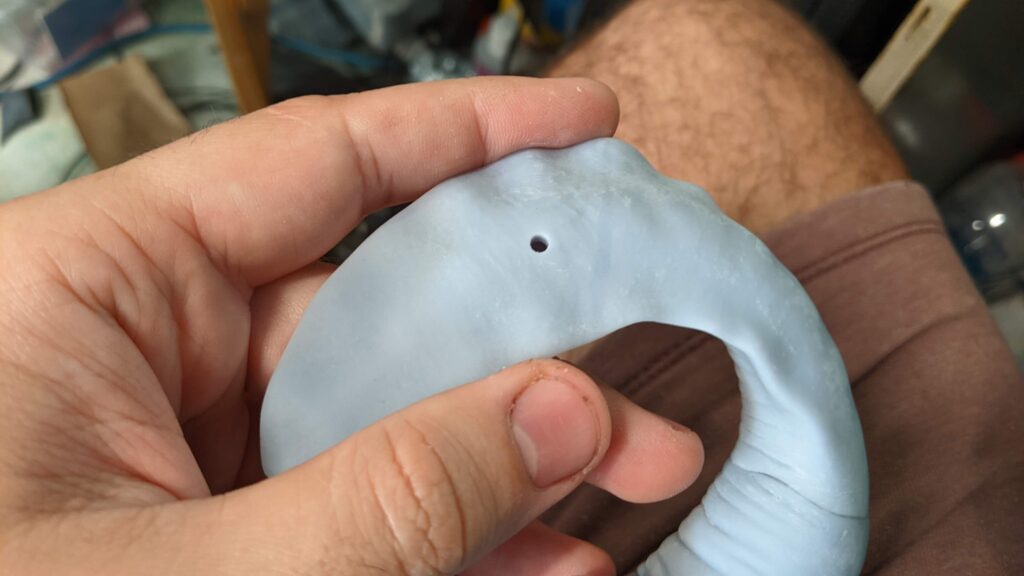
Filling gaps, cracks, or drainage holes in 3D printed resin parts can be frustrating, especially for a beginner. Whether it’s a small misprint or a gap between glued pieces in an assembly, you don’t have to worry about hunting down the right filler anymore. Spackle? Wood filler? Sandable primer? Forget about it. In this guide, we’ll show you How to fill cracks and drainage holes in resin 3D prints with a material that you probably already have: clear 3D printing resin! The only specialty tool you’d need is a UV light source. This method gives you a seamless, strong surface that perfectly matches the surface quality of the original printed part(s). This is the method we use when filling drainage holes or when assembling our resin printed models that require multiple pieces be glued together.
Required materials:
- Clear 3D-printing UV resin – We’re using clear resin because the light can penetrate deeper into it. Making sure there isn’t any uncured resin left behind deeper in the hole or crack that we’re filling.
- A UV light source – You can use any UV light source that you have. It just needs to be able to cure 3D printing resin quickly. We’re using this 100w floodlight from everbeam. It’s overkill for this purpose but boy oh boy does it cure resin quickly. I’ve used this method with a UV LED keychain successfully too.
- PPE – gloves and eye protection.
- A cheap paintbrush – Cheap, because this will likely ruin it. You can also use a small piece of paper fashioned into a long point to apply resin accurately where you need it to be.
- Isopropyl alcohol – or methanol works too. Whatever you’re rinsing your prints with
- Sandpaper – I use 220 grit. (If you’re new to sandpaper, this is a pretty fine grit. Lower numbers indicate a rougher, more aggressive grit, while higher numbers mean a finer finish.) I Recommend fine grit to leave a nice smooth paintable surface with almost invisible scratch marks. You can adjust your sandpaper if you want an even smoother surface finish (>220grit) or if you want to remove more material faster (<220grit).
1. Prep and safety first
Before you start playing with liquid resin, make sure you’re protected.
- Gear up: Put on your nitrile gloves and eye protection.
- Clean the area: Wipe down the crack or drainage hole with isopropyl alcohol (IPA) to remove any dust, grease, or leftover resin skin. Let it dry completely.
2. Apply the resin (Less is more)
The goal here is to fill the gap without turning the rest of your model into a bumpy mess.
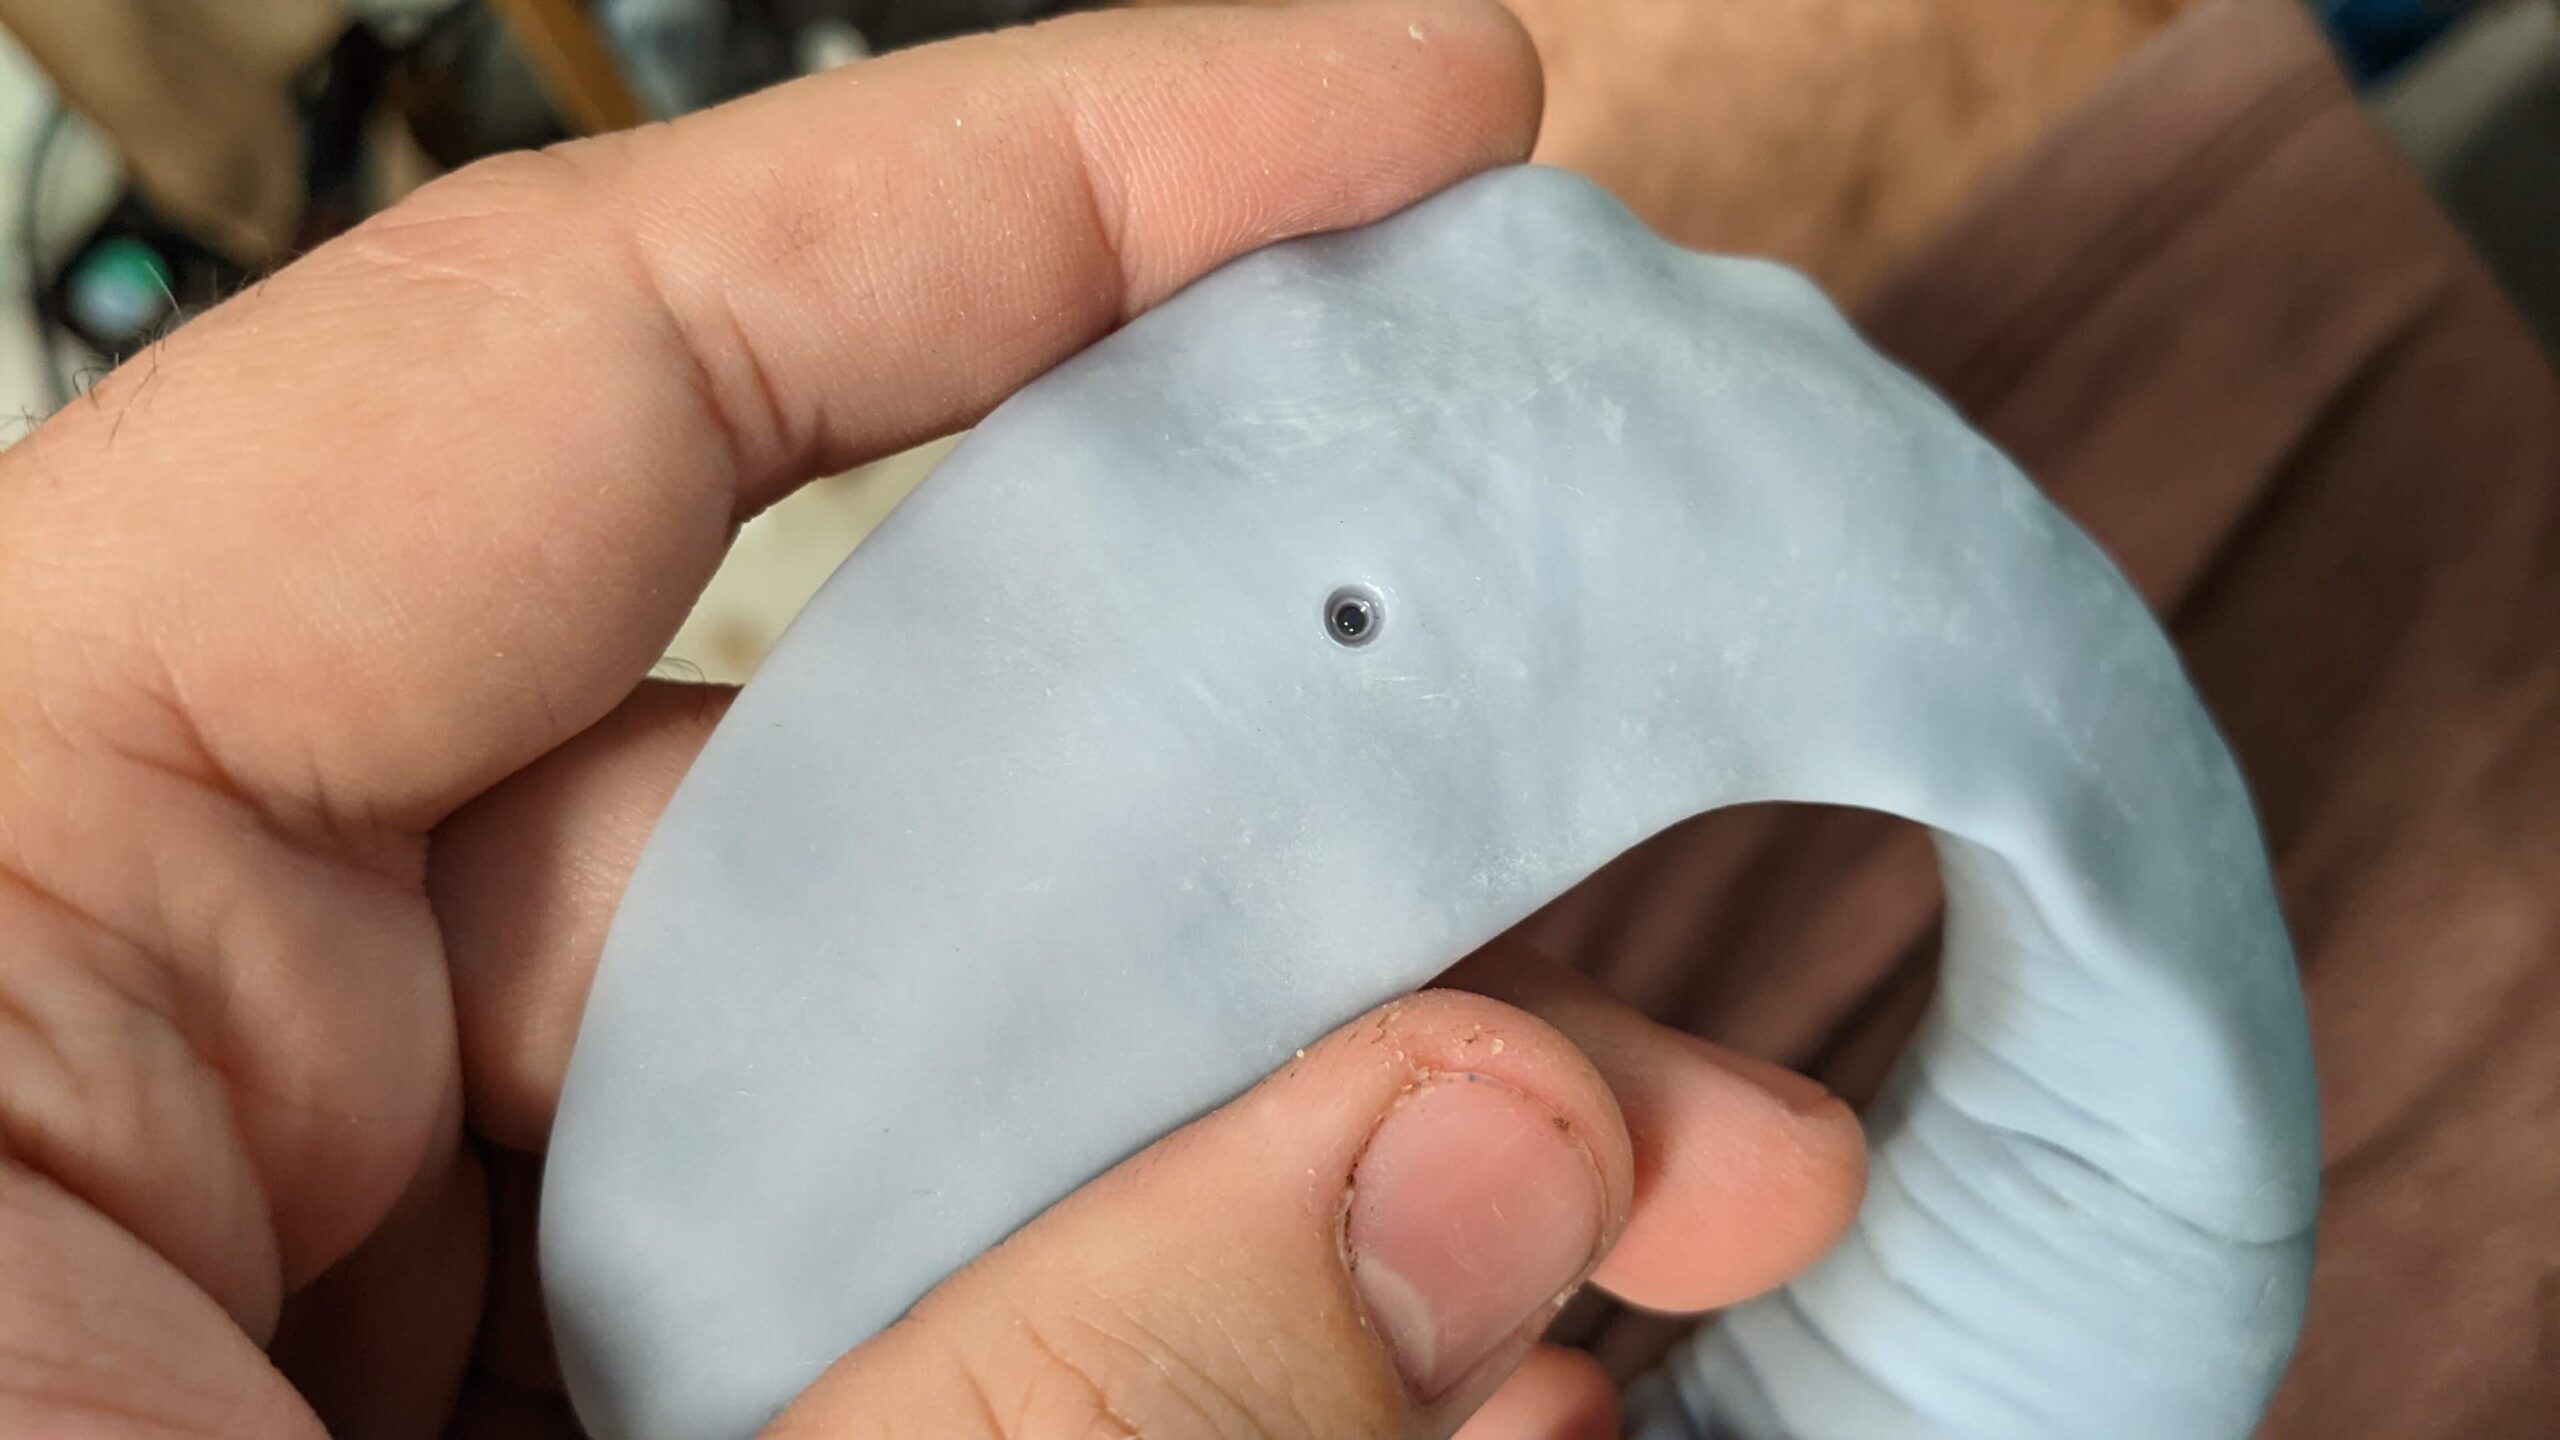
- Dip your cheap paintbrush (or the tip of your rolled-up paper tool) into the clear UV resin.
- Carefully work the resin into the crack or hole.
- Pro Tip: Leave the resin slightly proud (mounded just a tiny bit above the surface). It shrinks slightly when curing, and you want enough material left over to sand perfectly flush later.
3. Cure it with UV light
Time to bring out the light.
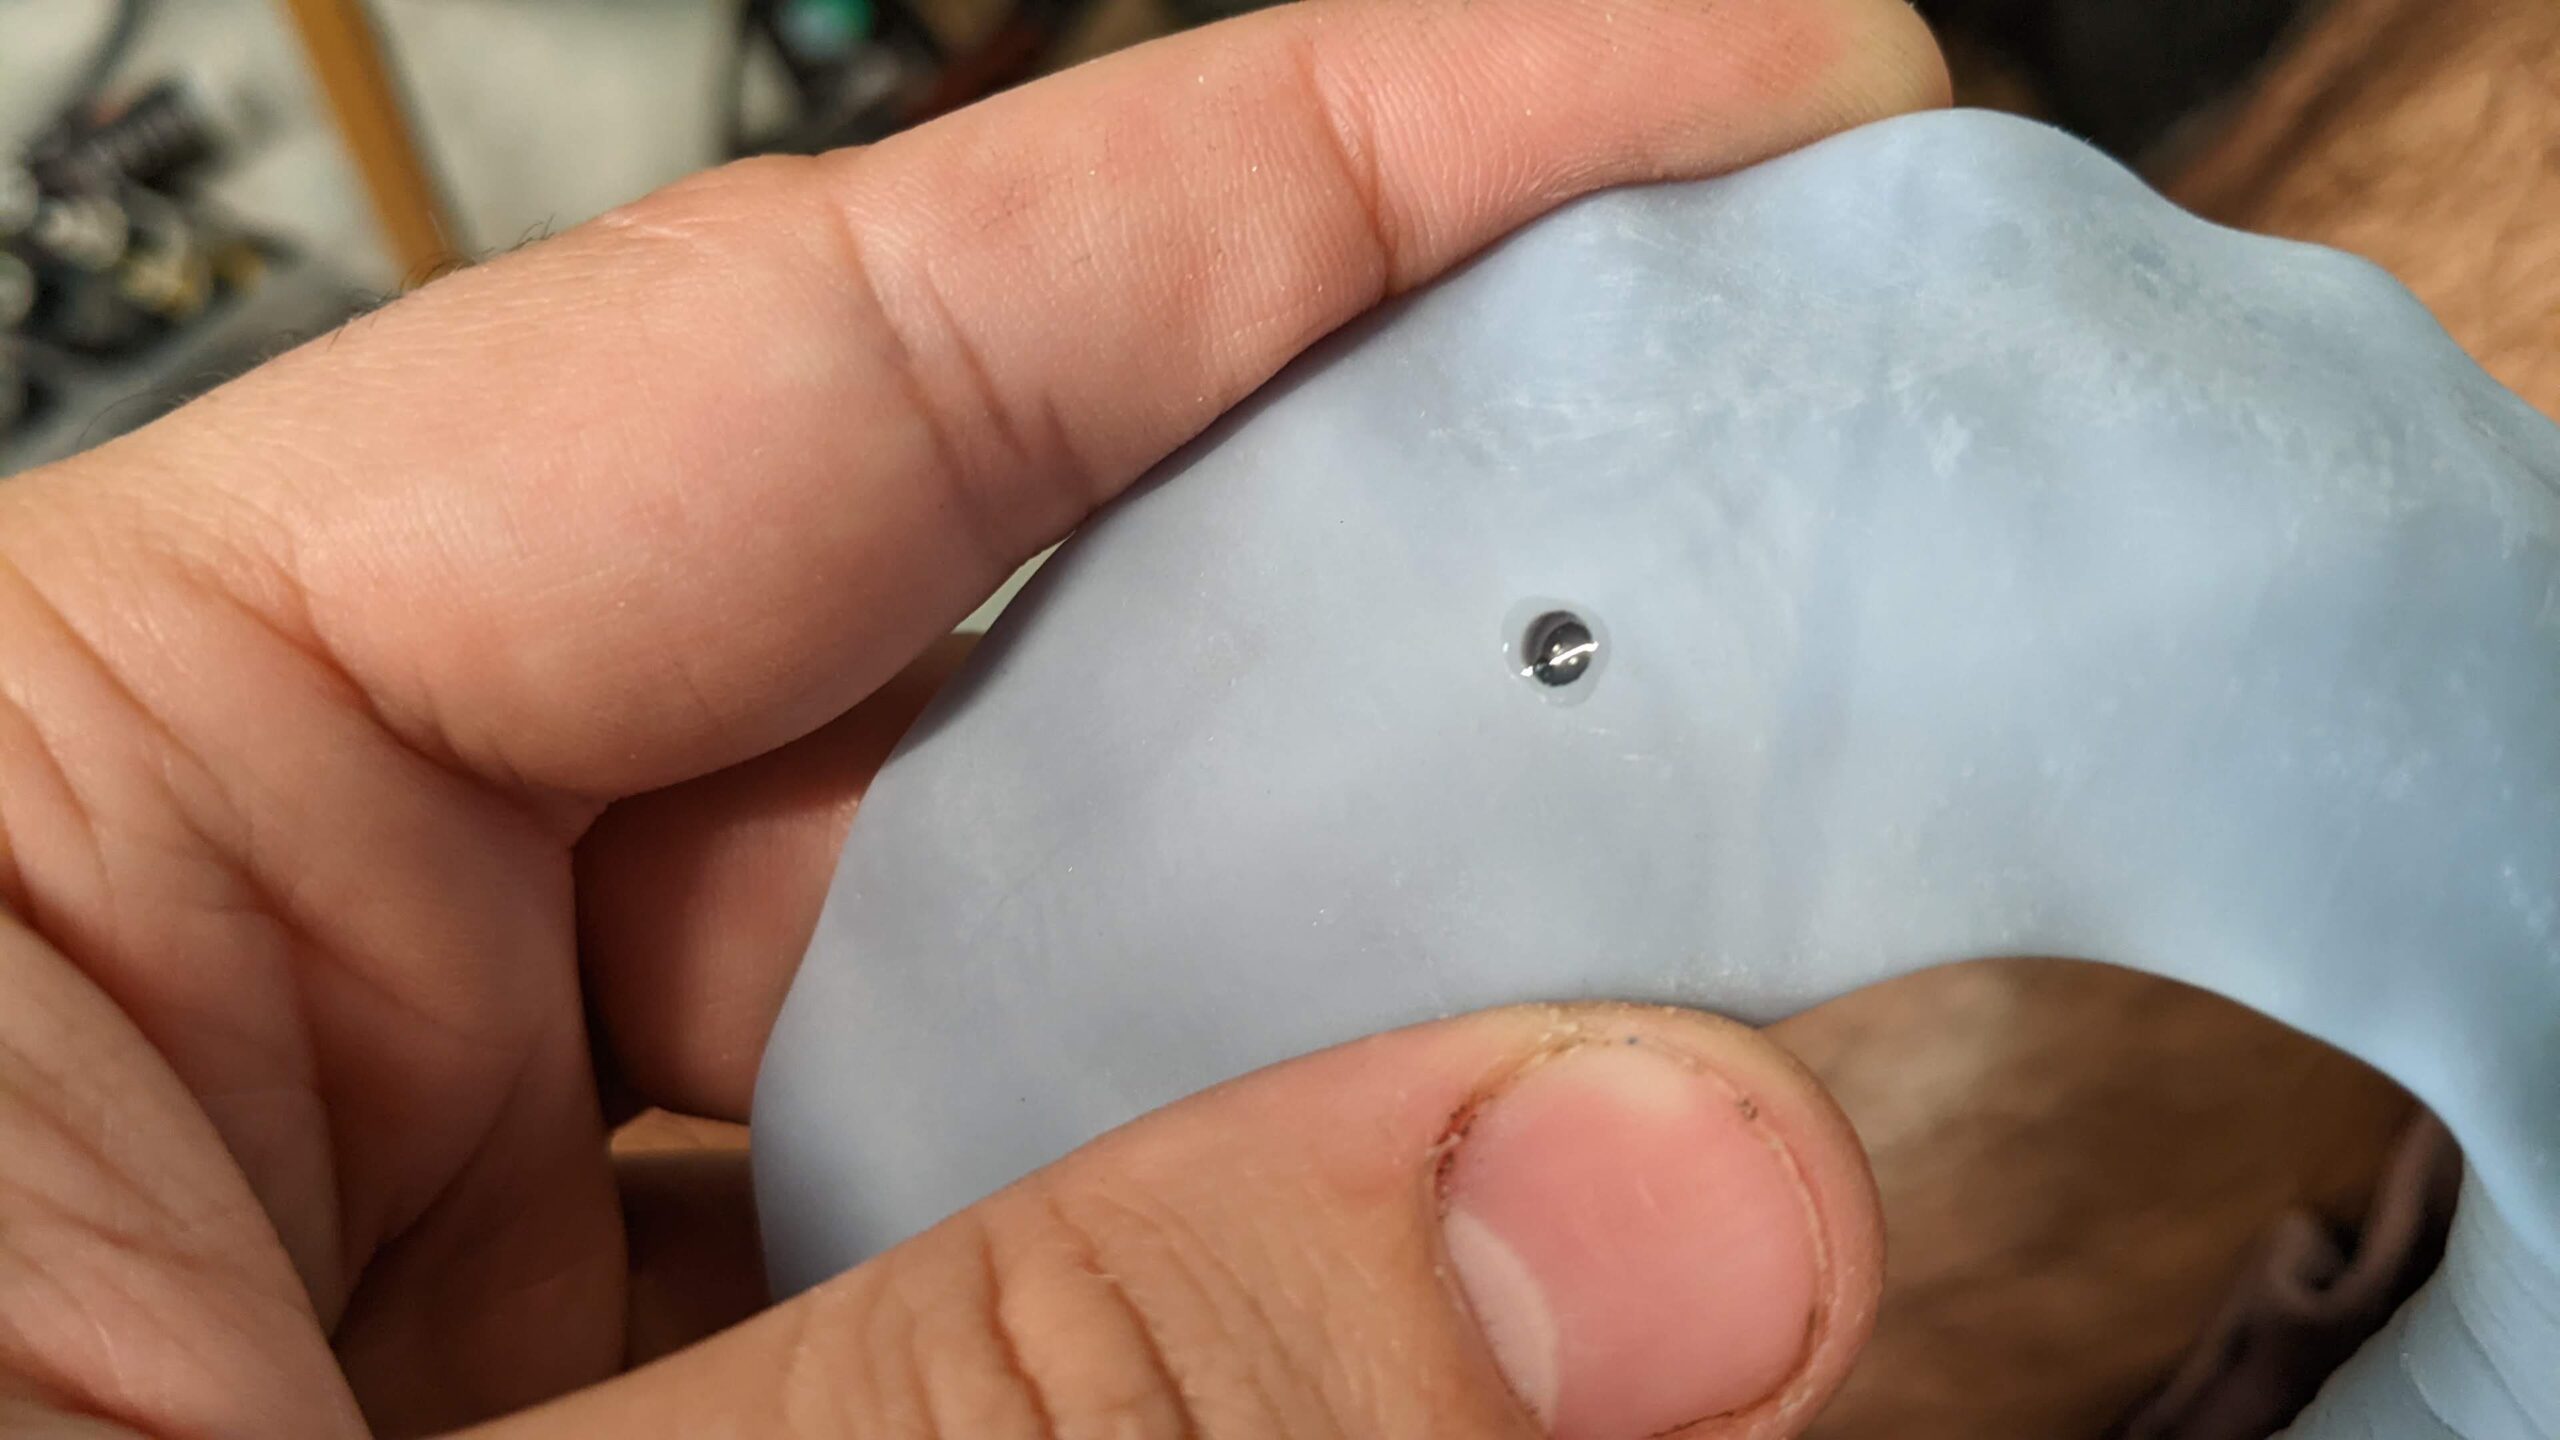
- Shine your UV light source directly onto the filled area.
- If you are using an “overkill” floodlight, this will only take a few seconds. If you’re using a smaller UV keychain or flashlight, hold it steady over the spot for about 30 to 60 seconds.
- Why clear resin matters here: Because it’s translucent, the UV light can penetrate right through to the bottom of the crack, ensuring there’s no trapped, liquid gooeyness hiding underneath a cured crust.
Deep Holes? Layer It: If you’re filling a particularly deep crack or drainage hole, don’t try to fill it all in one go. Apply it in 2–3mm layers, curing each layer completely before adding the next.
Why This Matters: Leaving uncured, liquid resin trapped inside a completely sealed model can eventually cause the print to crack, leak, or degrade over time. By using clear resin and applying it in thin layers, you ensure the UV light penetrates all the way to the bottom, locking everything down into a completely stable, solid repair.
4. Sand it flush
Once the resin is rock-hard, it’s time to blend it into the model.
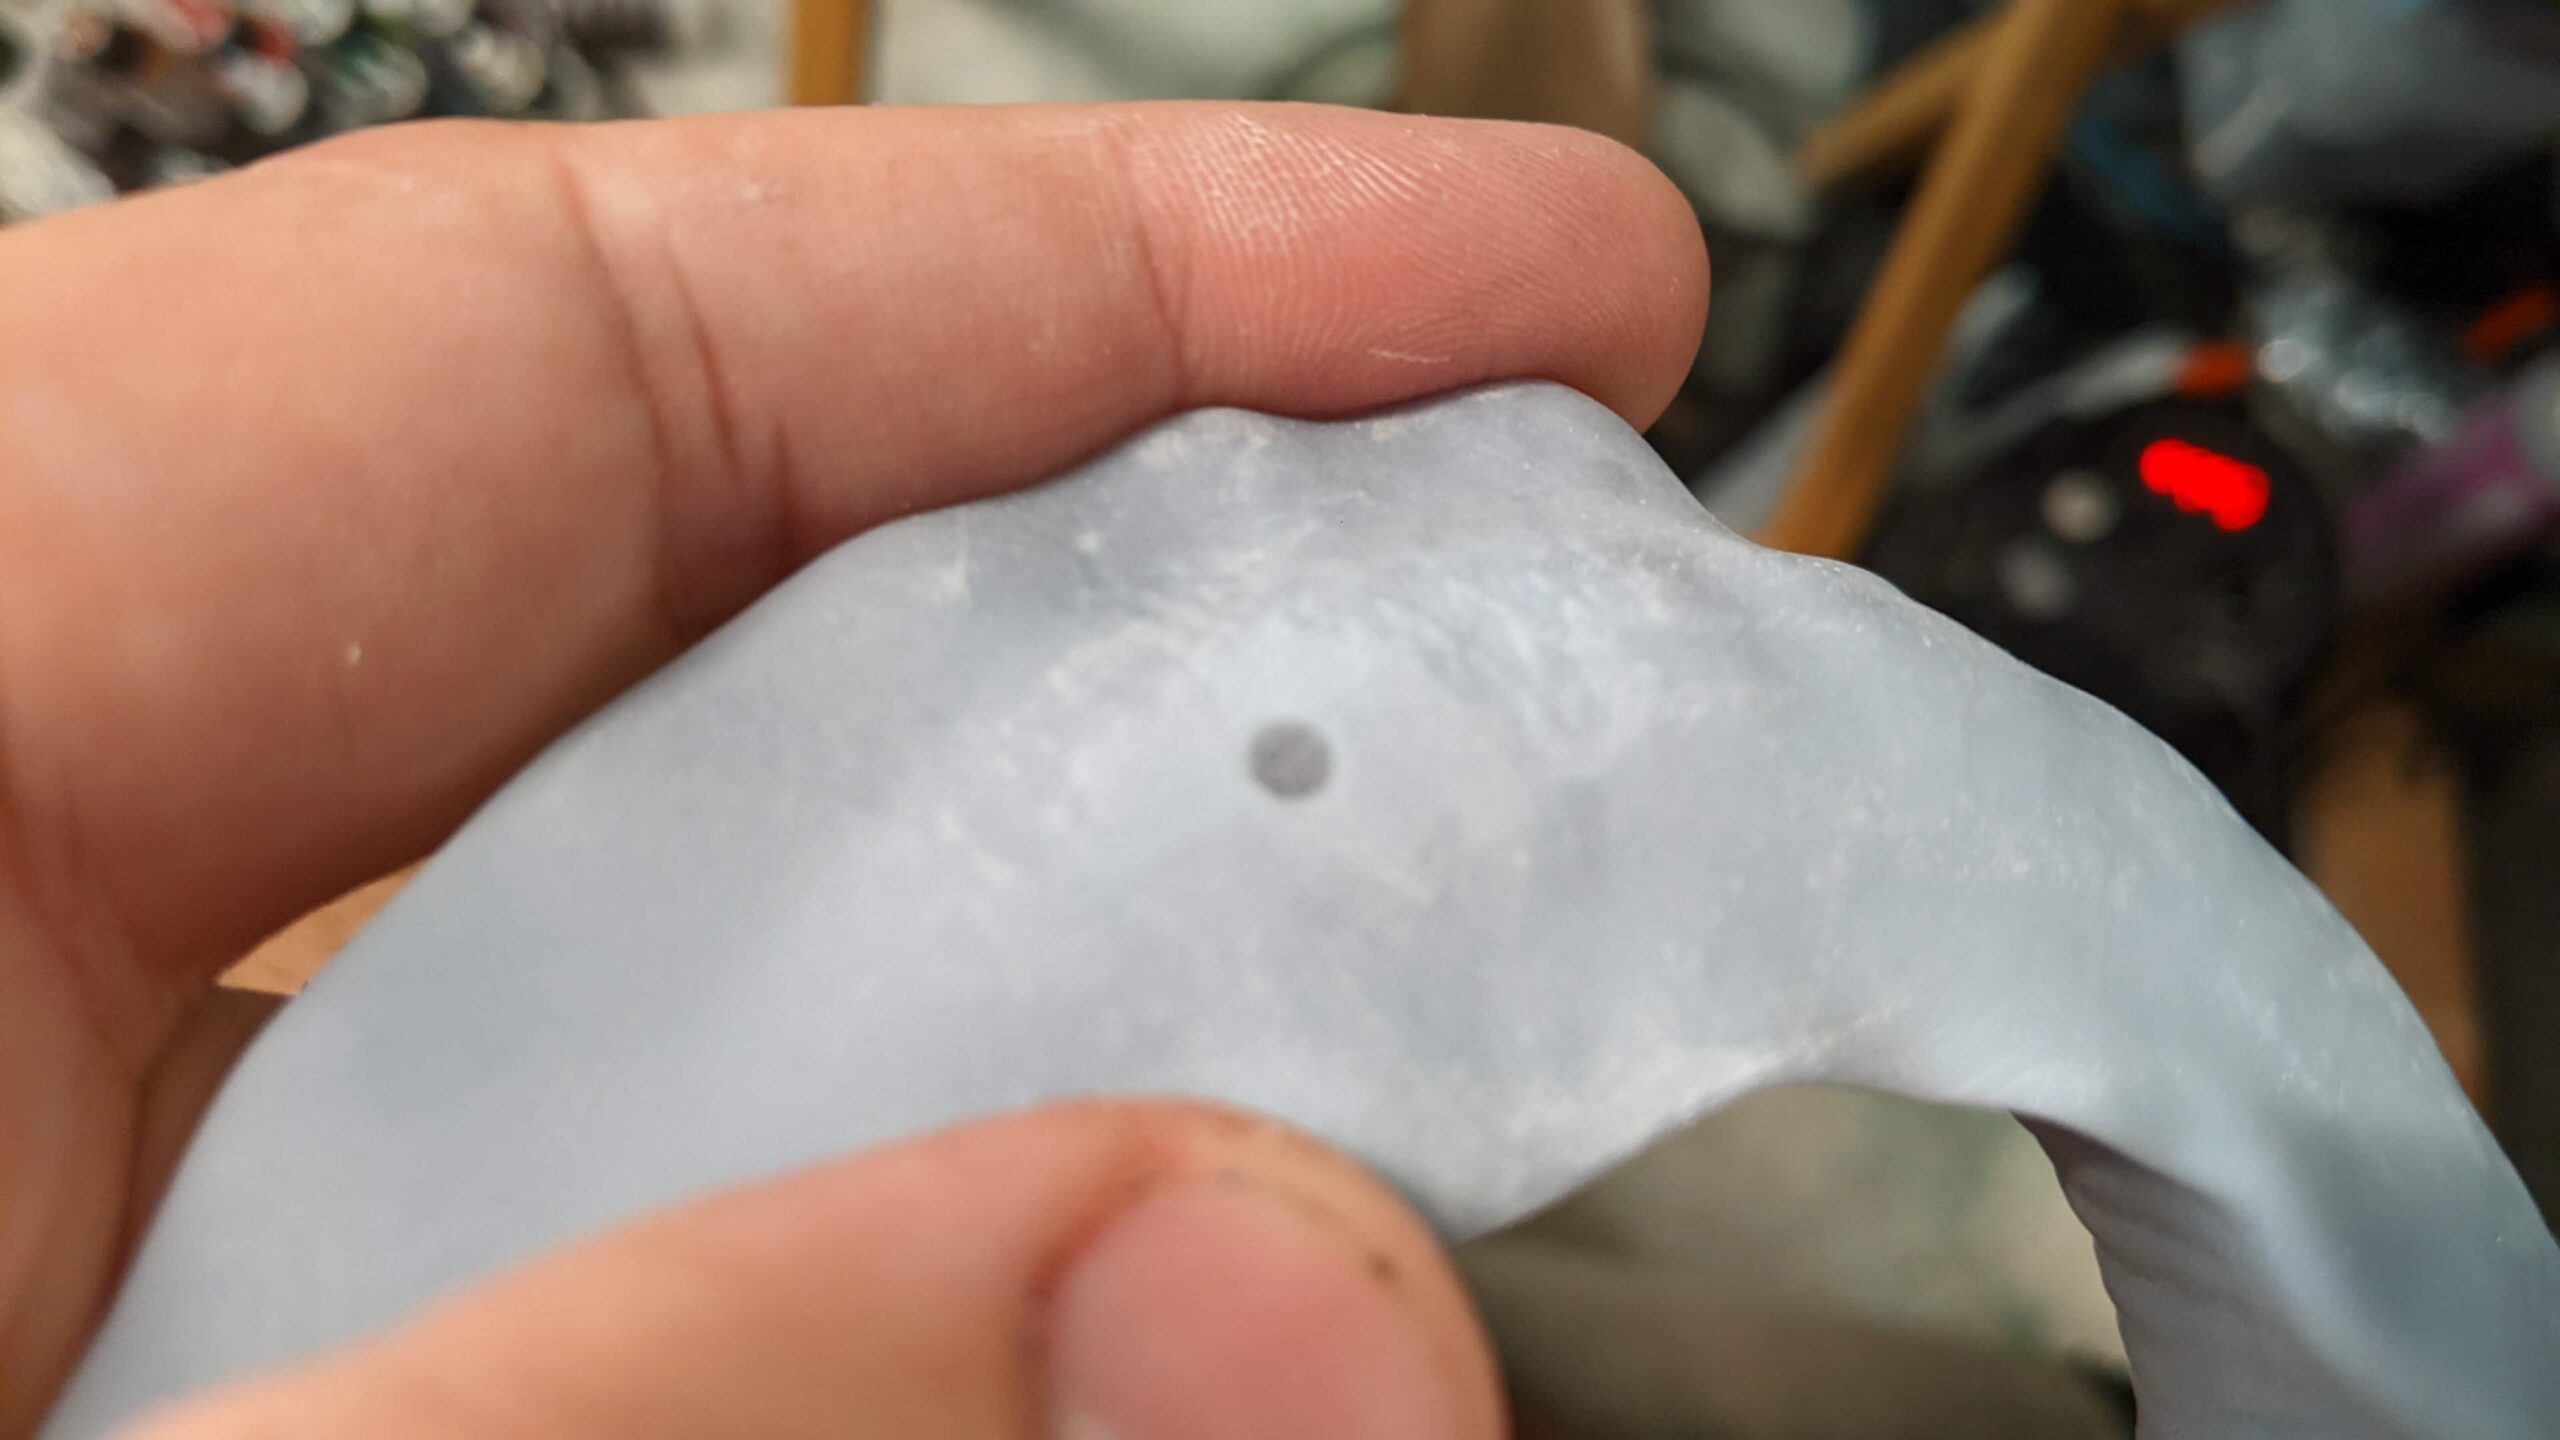
- Grab your 220-grit sandpaper.
- Sand the cured resin area using gentle, circular motions until the patch is completely level with the surrounding printed part.
- Run your finger over the spot (glove off, but only after it’s cured and wiped down!). If you can still feel a ridge or a dip, you either need to sand a bit more or add a tiny drop more resin and re-cure.
5. Final wipe down
- Give the entire area one final wipe with IPA to clear away the sanding dust.
The result
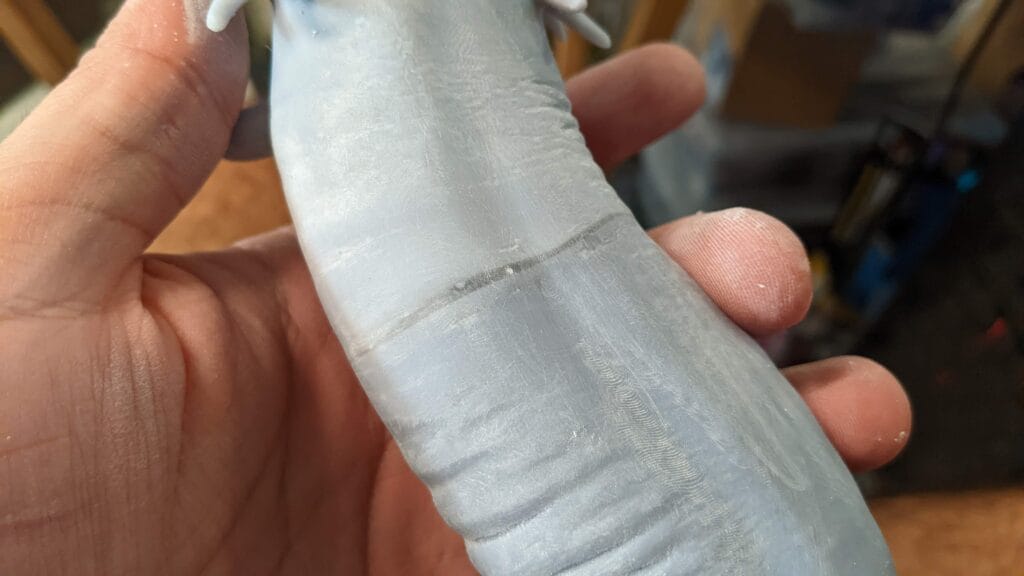
Once the dust clears, you’ll be left with a completely seamless, structurally solid repair that matches the density of your original print. From here, your model is perfectly prepped for a coat of primer and paint, and nobody will ever know there was a gap or a hole there to begin with!